Our Blog
Latest news and updates from The Heights Hosting Co.
How to Broadcast Live with Centova Cast and Rocket Broadcaster
Posted by admin on 08 10 2019. 0 Comments

Rocket Broadcaster is compatible with Centova Cast if you have Icecast2 or SHOUTcast (1 or 2) hosting. For most online radio hosting, it’ll work.
The first thing we’ll do is look up your stream connection information in Centova Cast, and then enter that information into Rocket Broadcaster so you can connect.
Let’s begin:
-
- Download and install Rocket Broadcaster.
- We need to check if you have AutoDJ enabled or not, because which connection details you need to use depends on that. If you have Auto DJ enabled, the little microphone with calendar icon in the top-right corner of the screen will have a green checkmark. If Auto DJ is disabled, you’ll see a red X, like in the screenshot below. You can broadcast live in either case, just remember if AutoDJ is enabled or not for later!

-
- Log in to Centova Cast and in the menu on the left, select “Quick Links”.

-
- Scroll down to the Live Source Connections section, and keep this information handy because we’ll need to type it into Rocket Broadcaster.
- Open Rocket Broadcaster, and start a new broadcast by selecting File->New Broadcast…. The Streams dialog should appear.
- You should make the settings on this screen match what the “Live Source Connections” details are on the Centova Cast Quick Links page we visited earlier.

Warning! If AutoDJ is running, the password you enter in Rocket Broadcaster is actually the username and password of one of your Centova Cast DJ users, separated by a colon. For example, if I have a DJ user with the username john and password secret, I would type john:secret as the password in Rocket Broadcaster.
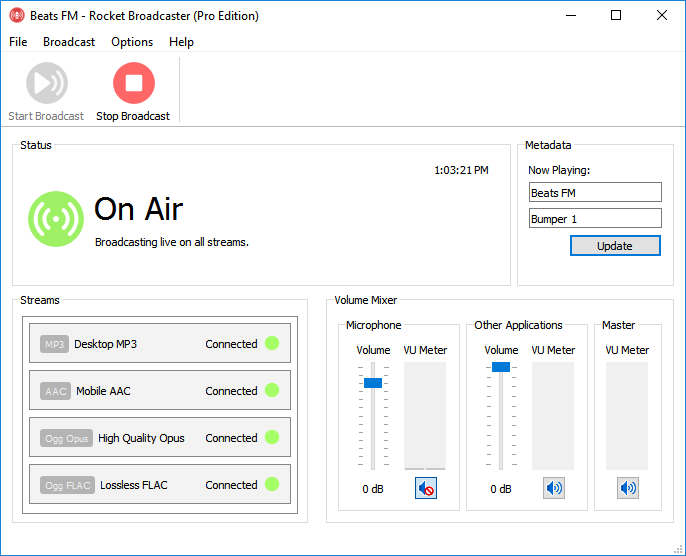
- When you’re done, click OK, and in the main Rocket Broadcaster window, click Start Broadcast.
- The status light should turn green and you’ll be broadcasting live!
Problems?
- If you’re using Auto DJ, double check that you’ve created a DJ account and try resetting the password of that user. Remember, you need to follow the instructions for entering the DJ password in Rocket Broadcaster very carefully. See the note above.
- Double check the server hostname and port number of your Centova Cast server.
- Still stuck? Try contacting your online radio provider for more assistance.
Want to enable or disable Centova Cast Auto DJ?
- In the menu on the left, under Server, click Stop to stop your streaming server. This must be done before Auto DJ can be toggled.
- Click Configuration in the menu on the left. After that, select the AutoDJ tab.
- Beside AutoDJ status, toggle the option to enable or disable AutoDJ.
- Start the streaming server again. Under Server on the left, click Start.
That’s all there is to it!
Visit Rocket Broadcaster for more info
